Truss Rod Mechanics: A Short Pictorial Guide

Truss rods are a fantastically simple innovation for addressing multiple neck & action issues. If it’s so simple though, why is this article necessary? Well, after receiving an email from a first-time builder wondering about the plausibility of creating an entirely aluminum guitar, the need to break things down visually became clear.

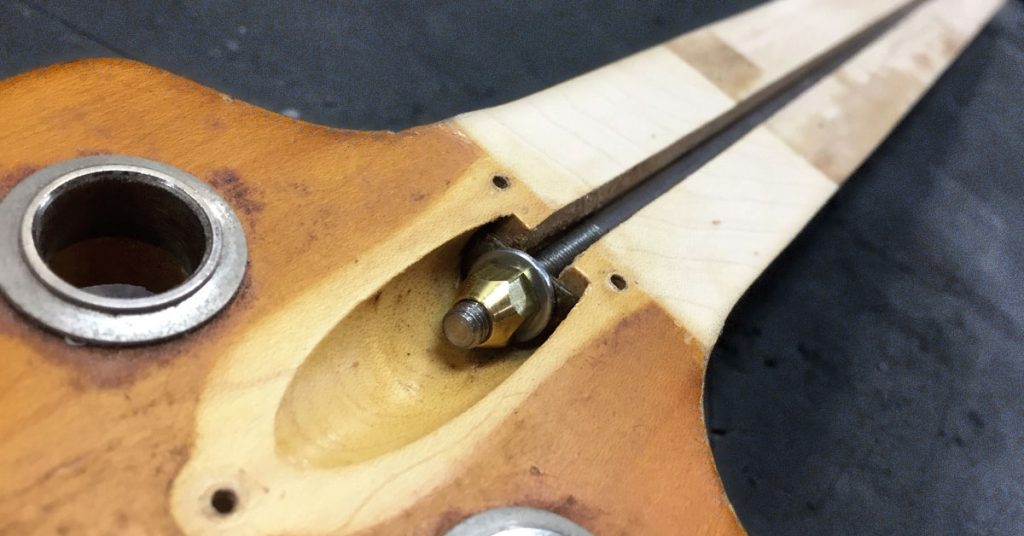
There are multiple truss rod ‘styles’, but all of them follow the same basic mechanical principles. They are embedded in the neck, span the length of the nut to neck’s end, and have a mechanism for increasing tension between the end points. That mechanism makes it possible for the neck’s (normally flat) plane to be adjusted.

Single action (“one-way”) truss rods are only designed to counter upbow. There are still methods for combatting backbow on guitar necks equipped with single-action truss rods.

You’ve probably seen many diagrams like the one above – you’ll note the red arrow pointing to a “natural” position with a surrounding “ideal” setting area. That’s what this article is all about really. So let’s talk about that very quickly before we look at the string action in relation.

This diagram assumes that your guitar’s neck is not suffering from any twisting or humidity-related warping.

The ideal shape for your neck is not straight. Many players learn early on that a truss rod is just meant for combatting warping, and naturally assume that a straight neck is what we’re trying to maintain. In actuality, we want a neck with a very slight concave (or upward bow).

When an electric guitar is strung up and tuned, it has about 200lbs of tension pulling the neck toward the bridge. While the neck’s wood does an excellent job of resisting this amount of tension, it does flex a tiny bit. This default amount of concave given by the string tension is marked as the “natural” position in the diagram.

It just so happens that the vibrating strings will benefit from this slight concave in all of the right positions. This is illustrated below.

So, the ideal position for a truss rod’s setting is usually hovering around the place a wooden neck under tension would settle.

Before carrying on, if you’d like to know what this hydroscopic ‘breathing’ is that’s responsible for warping necks, you can take a look here.

A Quick Pictorial Guide to Truss Rod Settings & Action

(not regarding adjustments for hydroscopic movement)

1.

A string under tension oscillates when plucked, requiring some action adjustments to compensate.
The center line is the string at rest, whilst the lines above and below represent the bounds of back-and-forth movement after being plucked/picked.

2a.

Here is a guitar with a perfectly straight neck with the nut and bridge at even heights. The string is parallel to the fretboard when it’s not moving.

2b.

With your nut and bridge set at even heights with the string close enough to the fretboard for easy fretting, you the string’s oscillations may cause fret buzz.
Bridge height and nut height are perfectly even.

2c.

To address this with an un-moving neck, you will have to raise the bridge action to ensure the string oscillation does not contact the upper frets (where the oscillation field is always widest).
Bridge height has been raised, giving the string’s widest vibrational area clearance from the frets.

2d.

Unfortunately, since the fretboard’s length is greater than 1/2 of the string’s length, and the string’s halfway point is the area at which it can oscillate the widest, the action of the fretboard area above the halfway point (12th fret) is liable to become too high for comfortable playing after bridge adjustments have been made to address fret buzz.
In addition to the upper fretboard issues, people find when straightening a neck that has been set up with a slightly concave (ideal) truss rod setting previously, the string is suddenly too close to the lower frets and nut action needs to be raised to compensate there as well. This issue refers specifically to instances where a concaved setup is being straightened.
The raised bridge height gives string clearance on a straight neck, but playability is difficult at the upper end of the fretboard due to the excess height.

3a.

Here is a guitar with a slightly loose truss rod setting (considered to be the ideal shape for a guitar/bass). You can see that the concave is minimal enough not to create a very noticeable difference in string height from the fretboard when comparing the nut end and the upper fret end.
The neck is curving upward toward the nut end, while the string is making a straight line between the nut and bridge. The bridge height has not been adjusted for this setup.

3b.

The slight concave given to the fretboard actually mimics the string’s natural oscillation area.
All problem areas have been addressed whilst keeping the action as low as possible.
Note that the slight concave of the fretboard comes very close to mimicking the string’s vibrational area.

4.

To further hammer-in the usefulness of a truss rod, without even mentioning the necessity of an adjustable neck when using hydroscopic materials (wood), we can talk about scale length, string tension, radius, or changing nut/bridge hardware. Changes to any of these specifications can warrant truss adjustment to maintain perfect action across the fretboard. Many of those issues are dealt with in the setup guide & fret buzz article.
Exit mobile version