
What Does a Capacitor Do to Your Tone?
ca·pac·i·tor
/kəˈpasədər/noun
a device used to store an electric charge, consisting of one or more pairs of conductors separated by an insulator.

If you found the definition above to be completely inadequate in describing how a capacitor affects your tone, then this article is definitely for you. For anyone just taking in an interest in the electrical components and circuits in their guitar, the ability to truly understand how they work can become very abstract – usually because we tend to try to visualize everything, which is pretty hard to do when it comes to sound and electricity. When you think about a sound after it’s been converted to an electric signal[transduce], what do you see in your mind’s eye? I’m willing to bet that it’s something like this:


You pluck an open E, your pickup’s magnetic field is disrupted and the vibration of the string is inducted by the magnetic coils and the frequencies travel through a copper wire (or silver, if you’re fancy) – so far, you can see everything happening as we go along, but there’s a capacitor in the circuit coming up fast. The frequencies pass through the solder joint, up the little leg into the component. And…something happens in there…
What we know for sure is that the sound is different when it comes out through the output at the end of the line, but how is the tone cap actually affecting the frequencies?
Here, according to definition, our frequencies sit for a brief moment before coming out the other side. Not exactly, let’s forget the definition entirely – it’s a very simple, broad definition that doesn’t really have specific consideration for audio applications. Take a look at your capacitor if you have your circuit handy, or just look at the images below for a moment:
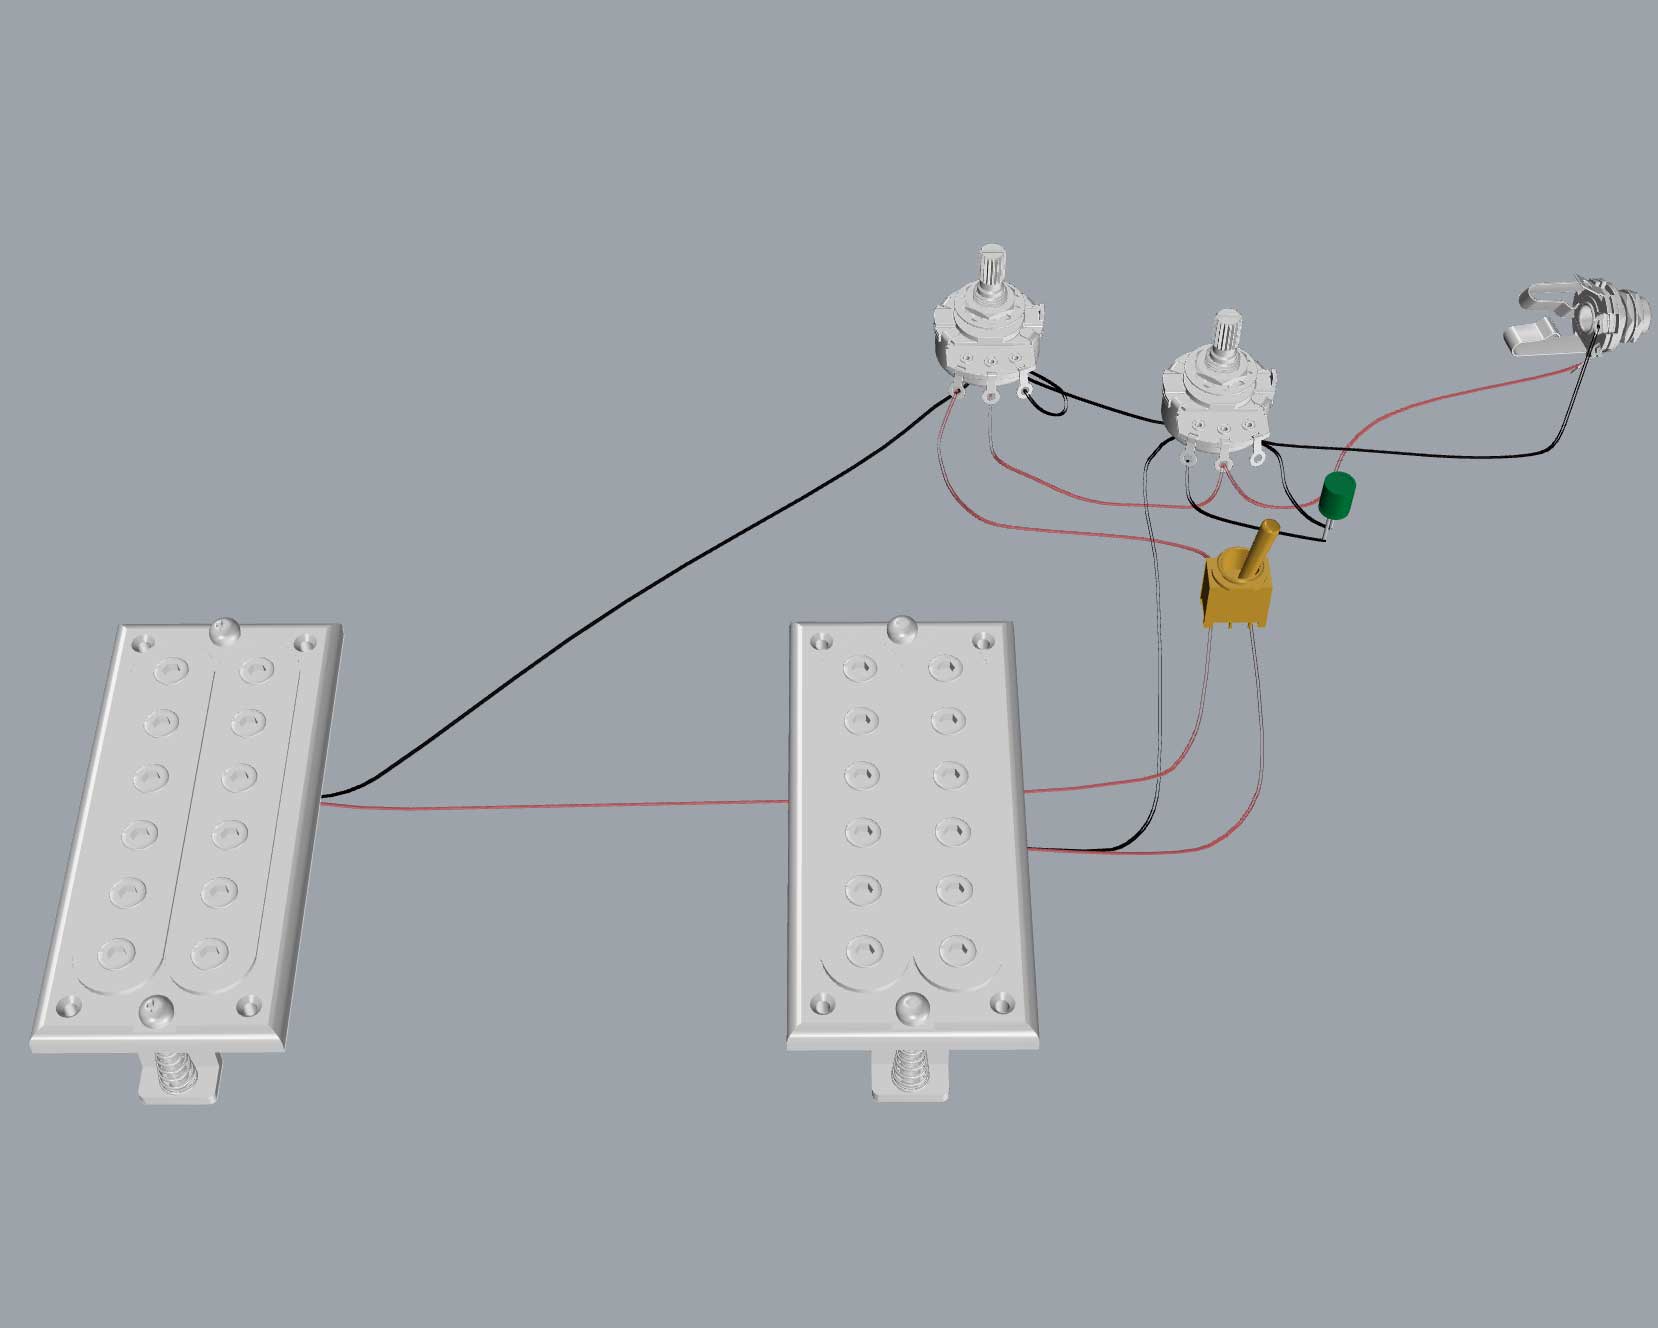
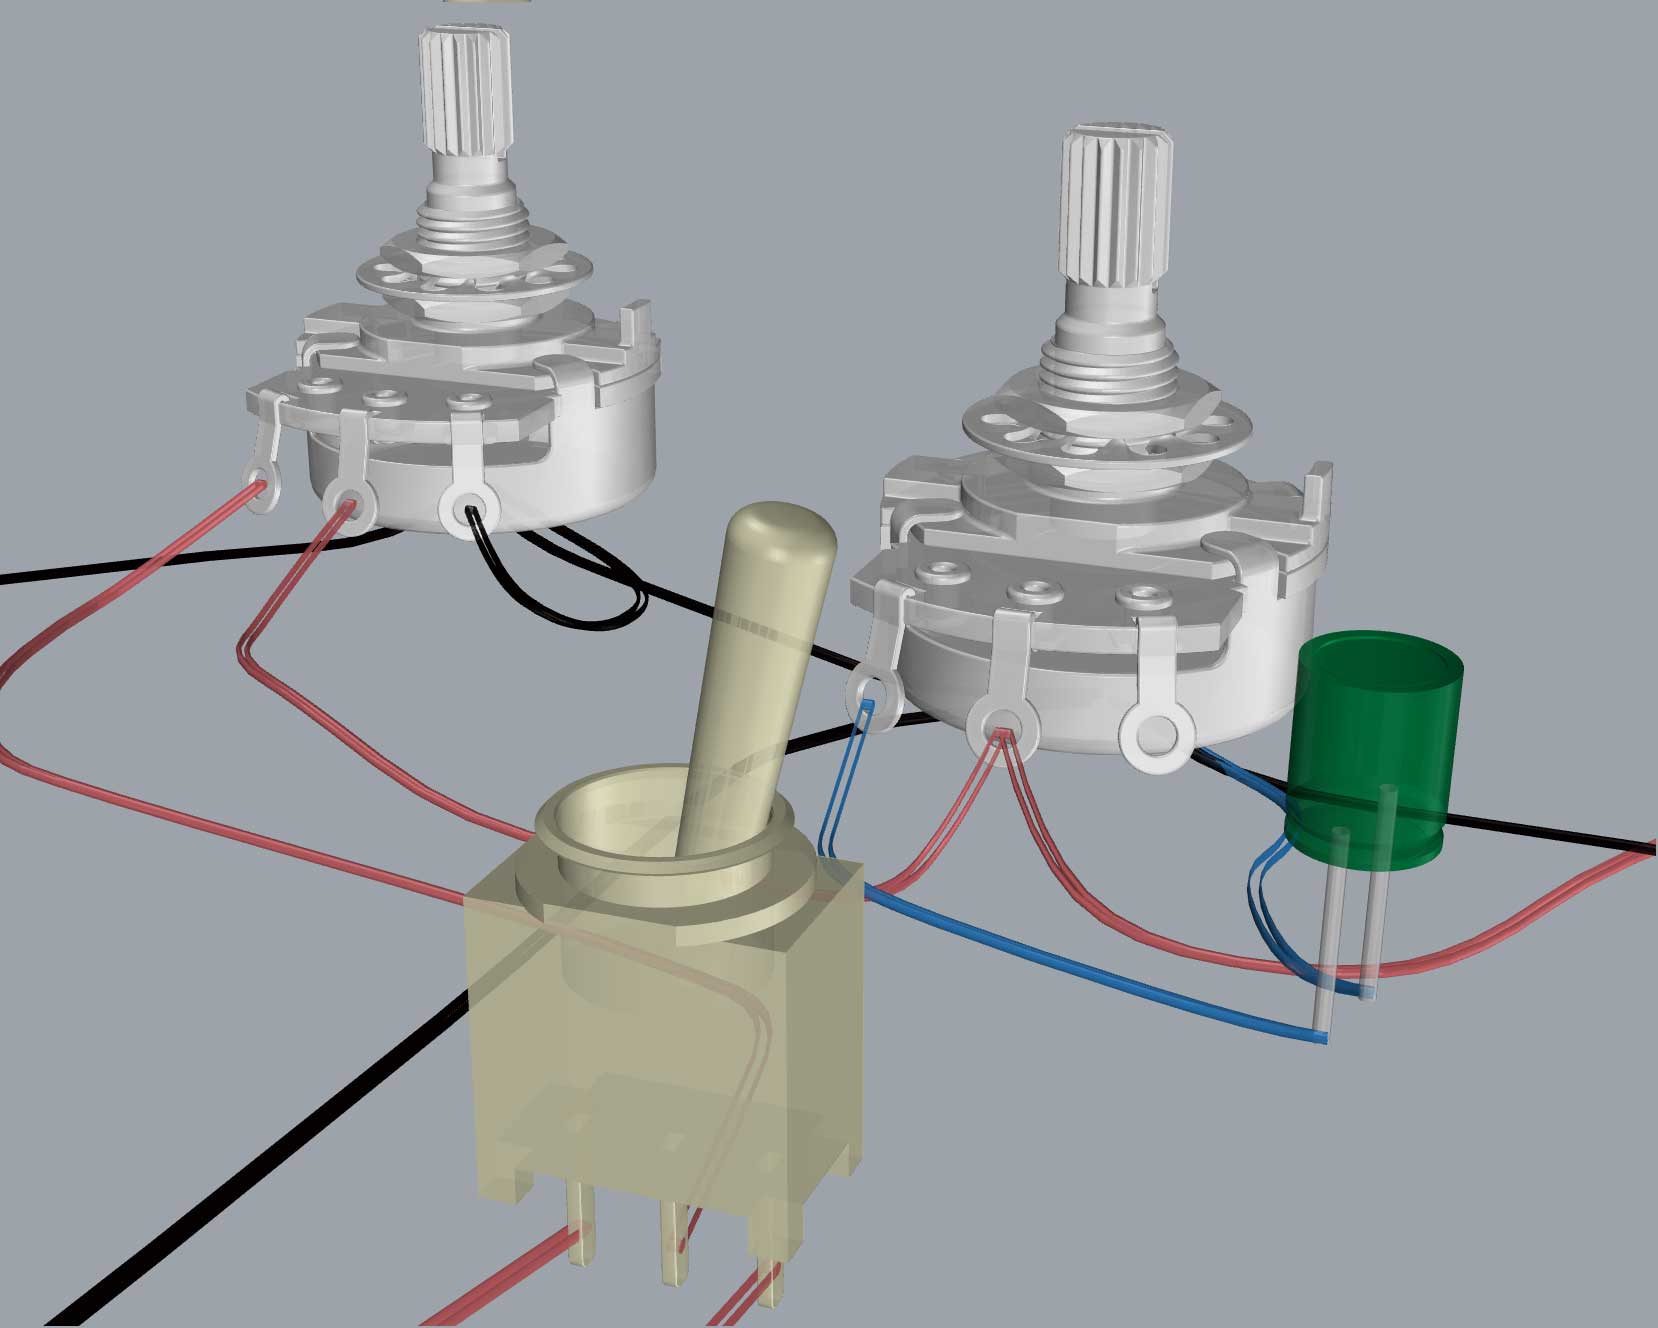
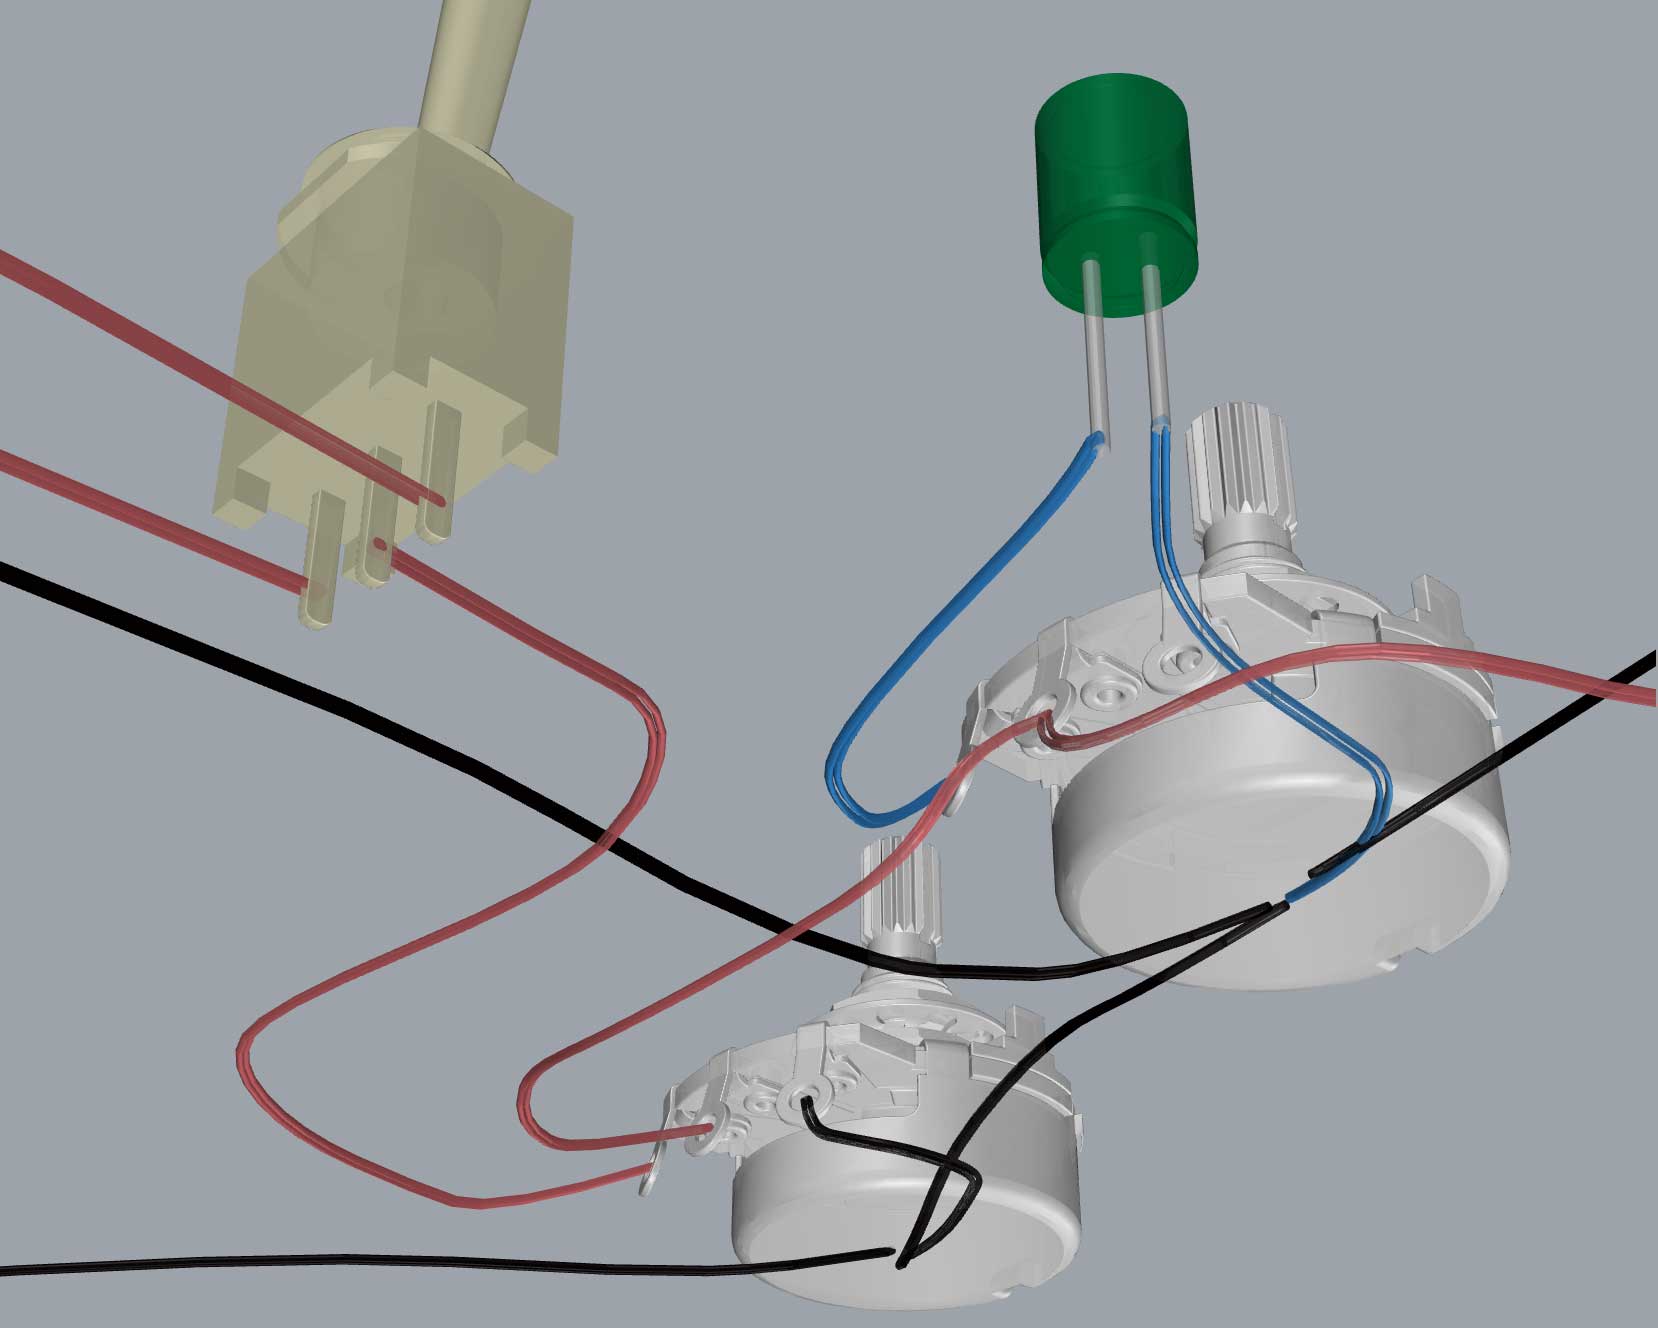
( Ground Wires | Hot Wires | Tone-Cap Wires )
I’ve marked the capacitor wires in blue and given a top and bottom view of the wiring setup – it’s a fairly standard setup, and even though yours may appear a bit different, the capacitor & tone pot are likely the same: one end soldered to the pot’s arm and the second leg is soldered to the bottom of the pot (or somewhere else in the ground circuit). Why doesn’t the whole frequency get grounded off then? Let’s look at the circuit diagram now:

The capacitor is selectively drawing out the higher frequencies and leaving the lower frequencies untouched to carry along down the line. Note that the bass frequencies are ignoring the law of electricity taking the path of least resistance (to the ground). This is where things get slightly complicated: capacitors are actually meant to divert lower frequencies, which is the opposite of what we actually see happening in the diagram – and of what we know happens when you roll your tone knob around.
All of the frequencies are originally attracted to the path of least resistance, but since the capacitor is holding on to the bass frequencies, they actually pass back into the hot circuit (through the same leg they came in) while the high frequencies are allowed to escape out the ground. Stick a potentiometer just in front of the capacitor in the circuit and turn it up – you are increasing the range of higher frequencies allowed to escape through to the ground. That’s the gist of it! And if we return to the definition about electricity being stored and released, we can picture this happening in the correct sequence with perfect clarity (I hope).
If not, then maybe it’d be helpful to think of it as a resistor that only resists lower frequency ranges. The highs and the lows enter the resistor attempting to pass through to the ground circuit – the lows get stopped in the cap and turned away while the highs just skim right past to ground. A higher capacitance value gives a darker tone because a wider range of high frequencies is allowed to escape.
Why does putting a potentiometer right in front of the capacitor only affect the tone instead of the volume? Good question, me. That’s most definitely a question for a potentiometer article though, because it’s going to require a complete breakdown of the pot mechanism as well.
Electricity is confusing sometimes, and it took me some time to go out of the way to research all of this stuff – before that, I would just work off of diagrams knowing A + B = C without any deeper understanding. After I took the time to learn about what I was putting together and how these components are all working with each other (or against in most cases), I had a flood of new questions and theories to find answers for and felt like I was ready to start taking on some more ambitious modifications.
Capacitor Values Breakdown
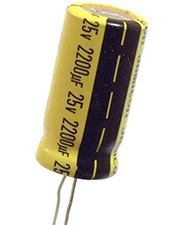
So now that we’ve looked at how the capacitor is actually changing the signal, and being selective about it with the help of a variable resistor, let’s get the numbers down. Each capacitor is going to have two numbers associated with it – the value and the voltage. Before we get into the important matters, I want to just narrow your scope of interest and point out that the voltage rating on a capacitor is not going to matter 99% of the time when it comes to electric guitars.
Why?
The voltage rating is essentially the amount of electricity that can come through at any given time before it burns out or degrades. A passive guitar’s circuit is only putting in a few volts, so generally any rating over 6 or 7 volts is enough…I can’t remember a time when I even came across a capacitor that wouldn’t be more than suitable. Active pickups put slightly more power into the circuit, usually thanks to a 9v battery.
Sometimes pickup setups are modified to run two 9 volt batteries – still just about nothing when considering that most capacitors are made to handle voltage by the hundreds.
The value of a capacitor is either written right on the thing or marked with some bands of color that you can decode. Paper in Oil capacitors will often have an alphanumeric code associated with them that you can just run through Google for a quick identification, but Ceramic, Electrolytic, Tantalum, Mica, and Poly Film caps are going to have bands of color that require a bit of math to work out. The following charts will help decode electrolytic and poly film caps (read here for the rest):

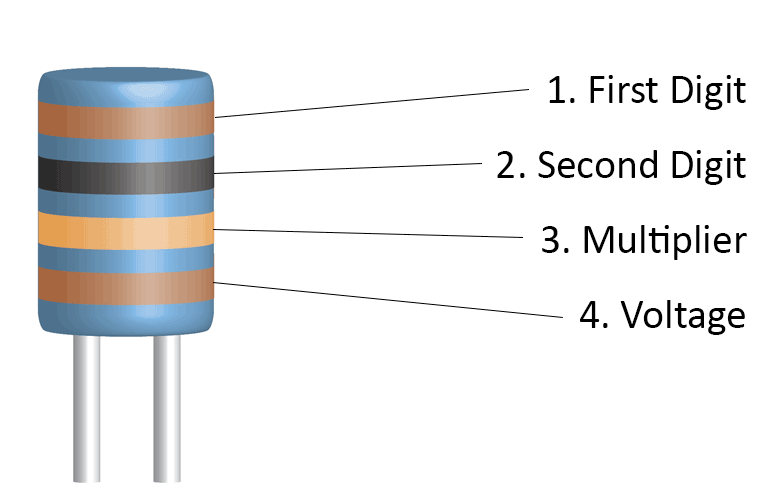
Capacitor Value Codes
Tolerance
(T) > 10pf
Tolerance
(T) < 10pf
Capacitor Voltage Color Codes
If you’d like to learn more about the color code system, I’d recommend reading this guide from Electronics Tutorials. And if you’d prefer to skip all that and just get some quick help in identifying a mystery cap, use this code calculator.
The value of a capacitor is measured in Farads, but the capacitances we’re dealing with for our humble guitar circuits are small and are most commonly measured in Microfarads (µF) or Picofarads (pF). If you’re trying to go from one to the other, one picofarad is 1 millionth of a microfarad (ex. 4700pF = .047µF). Here’s the most common values:
Capacitor Voltage Color Codes
As the capacitance goes up, the tone gets darker. You’ll know why if you didn’t skip my long-winded explanation at the start. Speaking of common values, here’s a rule of thumb (and another variable to bore you with): pot rating! Normally you’re going to see guitar companies using 250k pots for single coil pickups and 500k pots for humbuckers. With an identical signal being passed through 250k and 500k variable resistors, you can expect the tone of the 250k pot to be darker while the 500k will be brighter.
The reason for that tangent is because you’ll find manufacturers also pair particular cap values with the pot size:
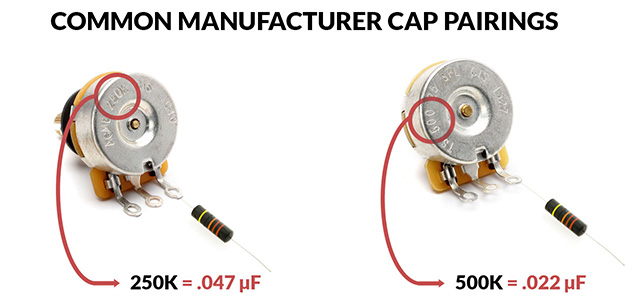

The practice of pairing the caps with the pots in such a way isn’t counterintuitive (darker pot with darker cap?) but simply the setup being tuned to reflect the pickup’s tonal qualities. Many people suggest first experimenting with caps that are lower than the standard value that came with your guitar because it’s going to produce the most dramatic difference. I like to make a little variable cap selector with a rotary knob and use a couple of alligator clips to put it in the circuit after removing the original capacitor, that way I can test out a bunch of tones without much hassle. Most of the time, I don’t know which values I’m selecting…and I like that because it keeps me focused on what’s truly important.
You are probably wondering if the right tone pot and capacitor could touch on all the sounds you might be trying to achieve with different capacitors. The cap affects tone even when the tone knob is all the way open, so choosing your value is important. You aren’t changing the value of the cap with a variable resistor, just the frequencies that are let through to be bled off or kept in the circuit by the cap’s value.
So far we have a lot of variables to consider: 1. Pickups, 2. Pots, 3. Cap values. All are contributing to the end product in their own way, and knowing how they work can save you a lot of time when you’re trying to achieve a particular voice. The reason I put numbers on them is because that’s the sequence in which they should be considered…you can just go down the line. It also happens to order each component by how much it affects your tone. Pickups are obviously the most important, but does that mean the capacitor is something that doesn’t really make a difference one way or another? YouTube provides plenty of evidence for the tone cap ‘hype’ (as the critics call it). A good starting point is this four part series here. I’ll give my personal opinion on tonal differences a bit later, but for now we can make a smooth transition into…
Understanding the Brands & Types of Capacitors for Guitars
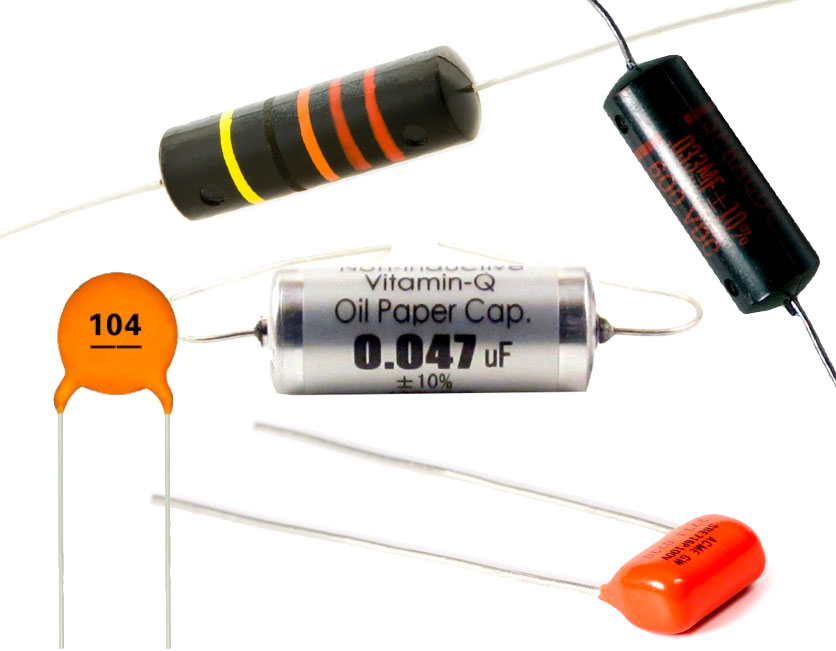

When you start Googling around for tone caps, you’re going to see a lot of hype around Orange Drops, Bumblebees, and other nicknames that are mostly based on the cap colors. You’re also going to hear a LOT of different material names: mylar, metalized polyester, electrolytic, tantalum, paper in oil, etc.
I’m going to reorganize all this info here for you now to make your life slightly easier. There are four main categories to consider:
Polypropylene
Polystyrene
Metalized Polyester Film [made with Mylar]
Mylar [DuPont’s branded polyester]
Orange Drop [Sprague]
Blue Drop
Chocolate Drop
A tone that is described as ‘bright’.
Polystyrene variants reported to have some interesting frequency loss characteristics in higher ranges.
Black Beauty
Bumblebee
Vitamin Q
‘Dark’, ‘warm’, ‘smooth’ tone.
Shortest shelf-life.
Most prone to DC leakage.
Described as ‘the brightest’ sound.
Also described as ‘anemic’.
Common due to their cheapness – generally not held in high regard among capacitor enthusiasts.
Aluminum
Tantalum
Niobium
Technically, they are paper in oil – but their differences in material and function warrant their own category.
Short shelf life – prone to burnouts when used after a long period of disuse.
Polarity sensitive – correct installation required.
DC Leakage.
Tantalum described as the superior electrolytic cap.
Often avoided due to their polarity issues.
There seems to be a few people touting a brand called V-Caps which uses various materials in their products: Teflon film, copper, metalized polypropylene, and tin foil.
Their materials and construction are probably most similar Orange Drops and Poly Film caps in general – I don’t know anything else about them except that they’re designed specifically for audio applications, which sets them apart from most other caps…they may be worth a listen.
Paper and wax caps are another option that have had some good reviews in electric guitar modification. I haven’t gotten around to trying them yet either.
Tonal Qualities of Capacitors
Finally, we come to the end. I saved this for last because it’s a matter of controversy and I’m not taking sides, but I cannot write about tone caps and not talk about the market.
Many guitarists and audiophiles alike are convinced of the specific, unique tonal qualities that can be found in particular brands of caps, ‘vintage’ caps / specific years of manufacturing, and the like. I spoke about a few of these disputed qualities above while I was describing the different categories of capacitors you’re likely to come across.
Does a .047µF paper in oil cap sound any different than a ceramic cap with the same exact value? Does a .022µF Orange Drop sound different than any other poly film cap?
Some people attribute the apparent differences noted in ‘vintage’ caps compared to brand new caps of the same brand, type, and marked value to be the result of degradation that has changed the actual value slightly. The DC leakage marked above as a detractor has been suggested as a possible reason for preferences being formed around aged caps as well.
Here’s a couple differing opinions that I feel have gone the extra mile in attempting to shut the other down: Gibson argues FOR the tonal differences, while a couple of audiophiles named Hank Wallace and Chad Barbour have made a tremendous effort AGAINST these claims.
What do I think? I don’t want to sway anyone one way or another, but I strongly suggest trying out different capacitor values either way because it’s entirely undisputed that changing the amount of treble bleed through different levels of capacitance has a noticeable effect on your tone.
But while you’re at it, try out a few different types as well because there’s no reason not to find out for yourself while you’re already making the effort – you may discover something great.