
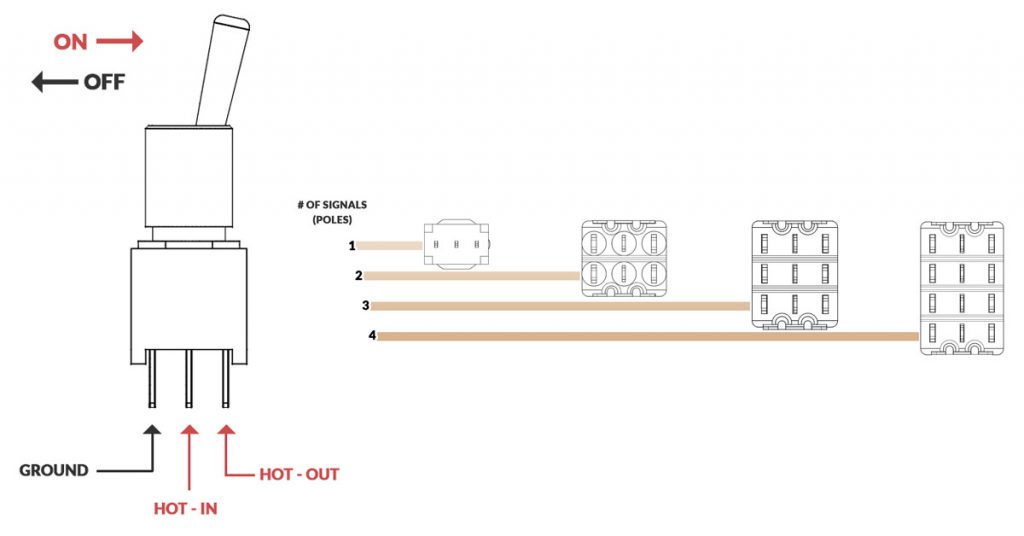
Required Tools & Parts
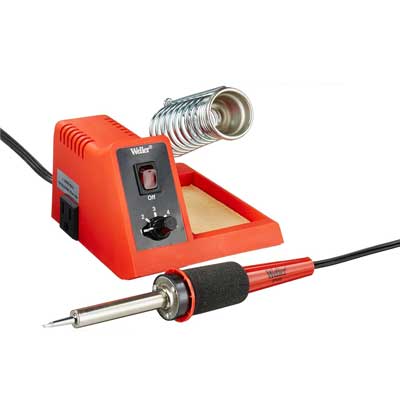

Soldering Iron & Tin
Buy Now
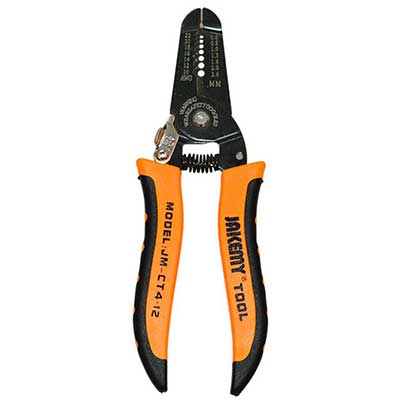
Wire Strippers
Buy Now
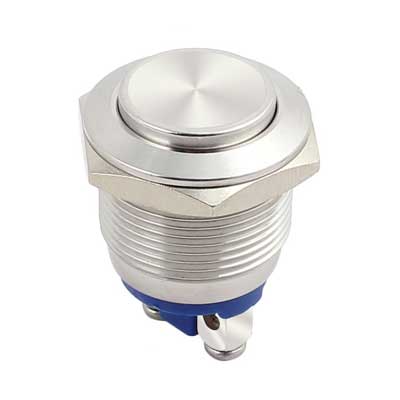
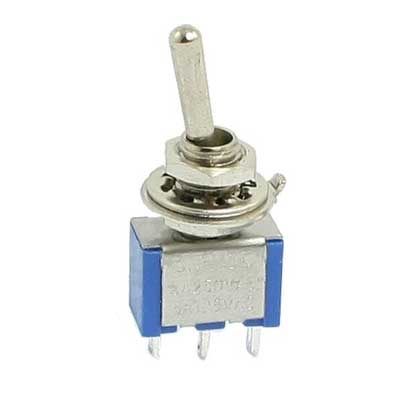
Momentary Push-Button (NO / NC)
Buy Now
SPDT Flip-Switch
Buy Now
A Little Background on Guitar Killswitches
Guitarists like EVH and Buckethead have been known to utilize a killswitch to color their songs or solos with a staccato effect. As the name implies, all there is to it is a brief cut in the signal going to the guitar’s output. There’s various ways of achieving the effect, both onboard and off – killswitch pedals are a pretty popular option.
But the intriguing thing about having a killswitch installed directly on your guitar is that it allows you to control the effect’s expression as accurately as your playing, whereas a pedal effect killswitch can free up a hand but seem very tedious to a lot of people who might have trouble connecting the timing of their feet and the clunky pedal buttons.
I’d recommend trying a pedal killswitch first if you’re not sure, or at least try to rig up the killswitch in such a way that you can try it out for a bit before drilling a hole in your guitar.
Let’s get to the fun part already.
There’s two ways we can go about doing this – or three if you combine the two.
1. First (and most common) is the push-button killswitch (or ‘momentary killswitch’). This will disrupt the guitar’s signal for as long as you have the spring-loaded button depressed, which will pop back up instantaneously and reconnect the hot signal.
It can be a little bit of effort to get your timing right since your intuition will keep possessing you to push down on the beat instead of releasing to make noise. Unless you’re a reggae player, then it should be a synch to master.
2. The second is the 3PDT toggle switch method. It’s the same exact effect, simply diverting the hot signal to the ground when activated – and the wiring is just as simple. But it provides the player with some options they may feel more comfortable with – particularly that its operation is virtually the same motion as you have when plucking a string (if you’ve installed it with the flip action vertical).
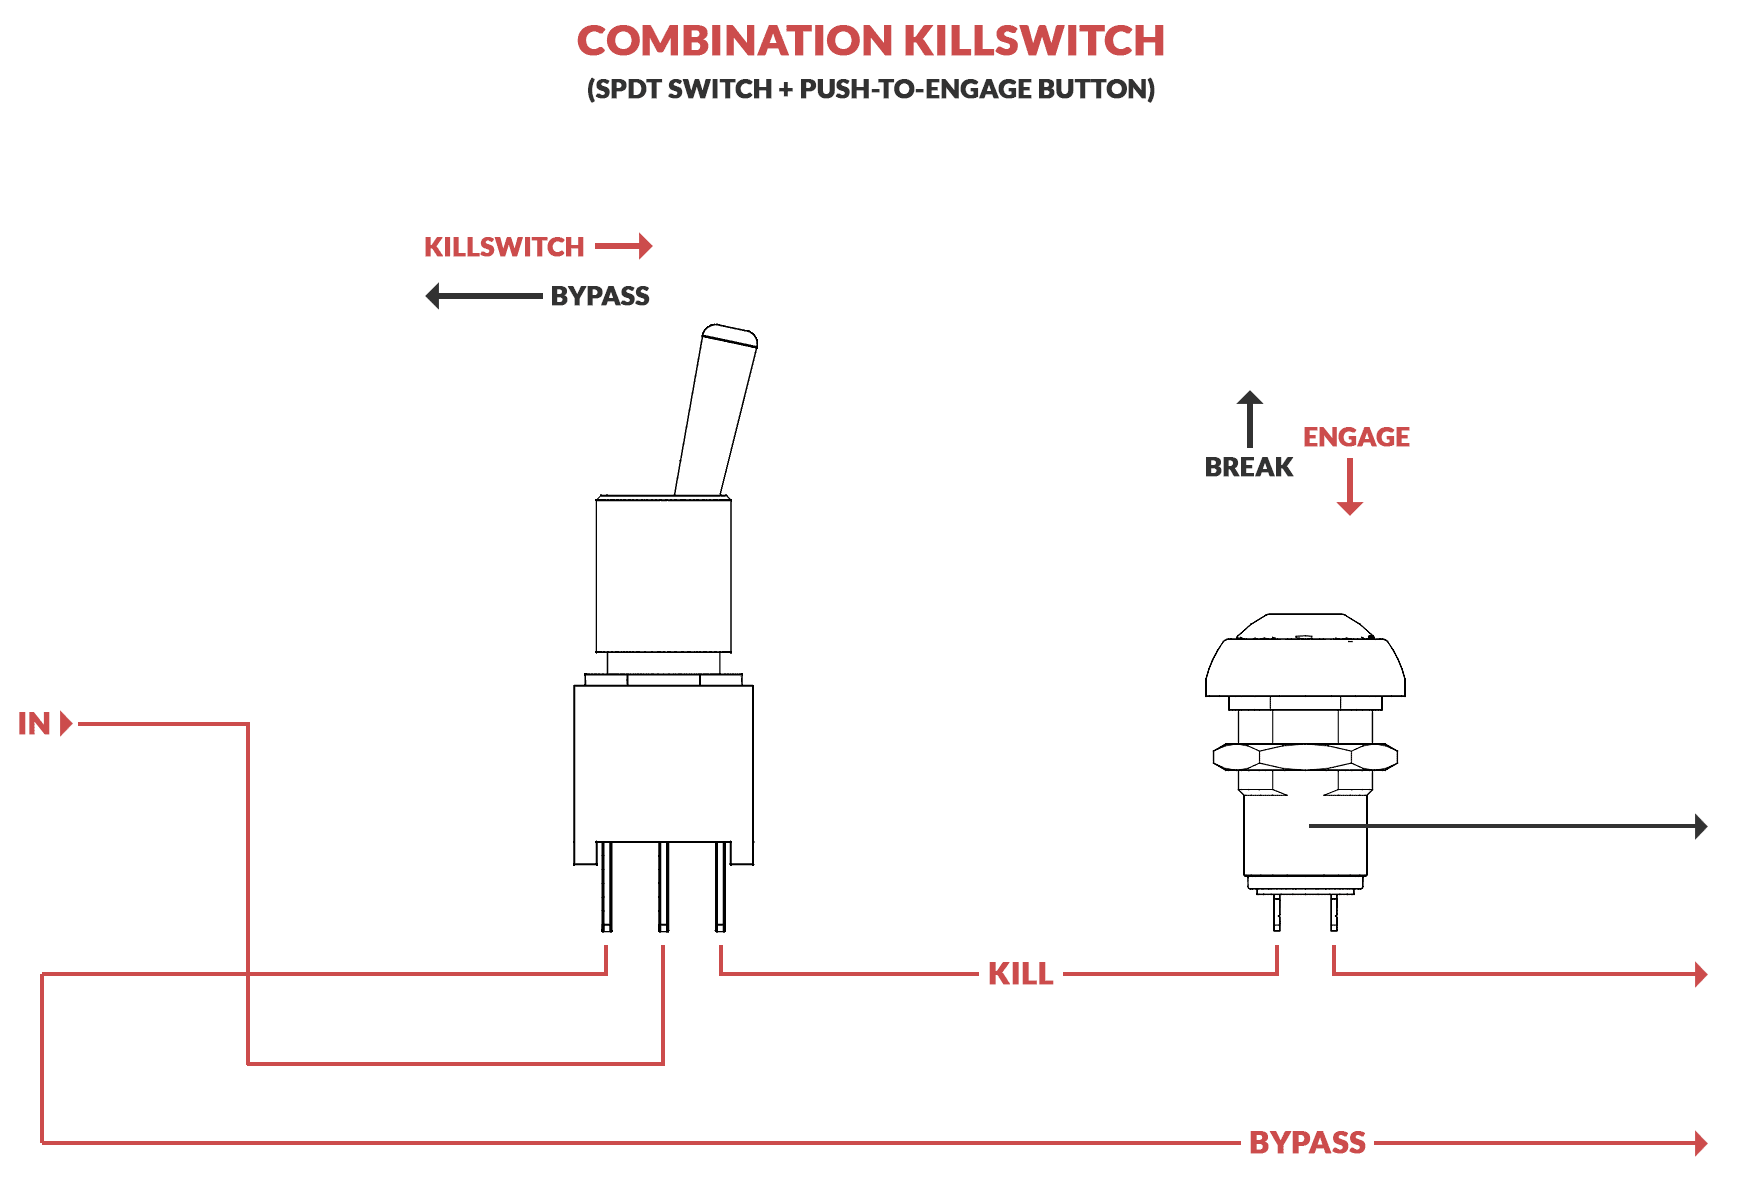
3. The third method is a combination killswitch that has the signal run first through a flip-switch, then through a push-button before the output. The difference here is that the button is wired to engage rather than disrupt when pushed – hence needing the flip-switch to divert the hot wire through the button first or let it flow naturally down the rest of the circuit. The plus side to this is that you have the option of using a flip-switch OR a button as a killswitch – and the button is now much easier to work with. Unfortunately, you’ll also be drilling two holes in your guitar.
1. Push-Button Momentary Killswitch
You do not want to follow instructions like these.
This circuit simply breaks the hot wire’s connection and will create a buzzing sound similar to when you have your cable jack unplugged and your amp turned up.
What we want to do is divert the hot signal into the ground to prevent any 60hz buzz.
This is done directly with an SPDT switch, but with these buttons there is no ground pole, it only breaks one line. But if you purchase a button with a metal housing, you can solder a common ground connection to the side of it. This will usually solve the issue.
All plastic buttons with wired without grounding = bad.
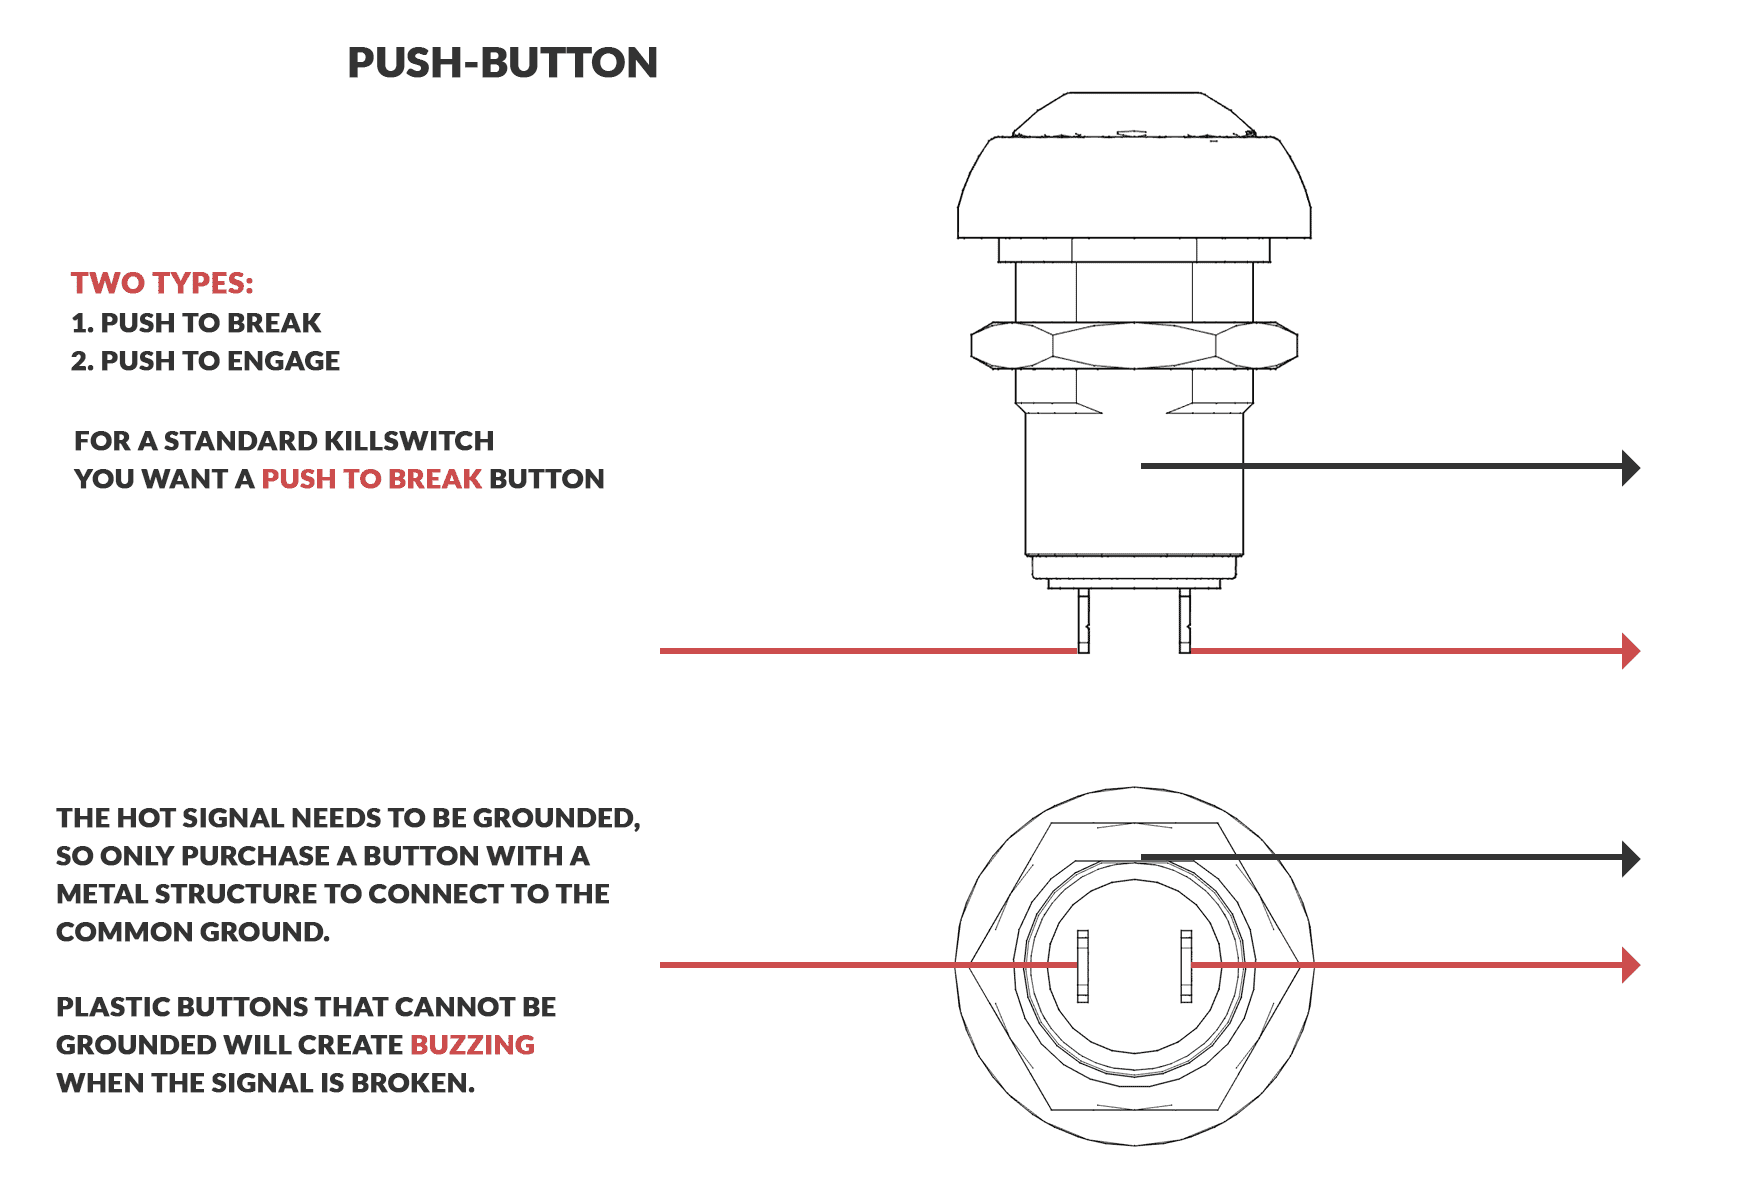
The type of button you want for this circuit is a Momentary Push-Button NC. The NC part is very important, as it is telling you that when the button is not being pressed, the circuit is Normally Closed (as opposed to Normally Open, or NO buttons).
Most of the instructions you’ll read around the web will suggest you install these right before the output, but they can be installed at any point in the circuit where all of your pickups’ hot wires are routed to a single wire. That way the killswitch will function regardless of your pickup selection.
2. SPDT Killswitch
SPDT stands for “Single Pole, Double Throw” – which basically means that there’s 1 shared post and then 2 independent posts (with the shared post in the middle).
Single Pole (SPDT) is the basic switch to flip between two options, while Double Pole (DPDT) has a second row of poles that are being flipped simultaneously – so you still have two options to select from with the flip-switch, but you can wire more components/function into each throw.
You can probably work out what 3PDT and 4PDT are now.
When wiring an SPDT killswitch into your guitar circuit, you’ll want to take into account exactly where you’re placing the switch to make sure you don’t limit its function to only one pickup (unless that’s what you were hoping for).
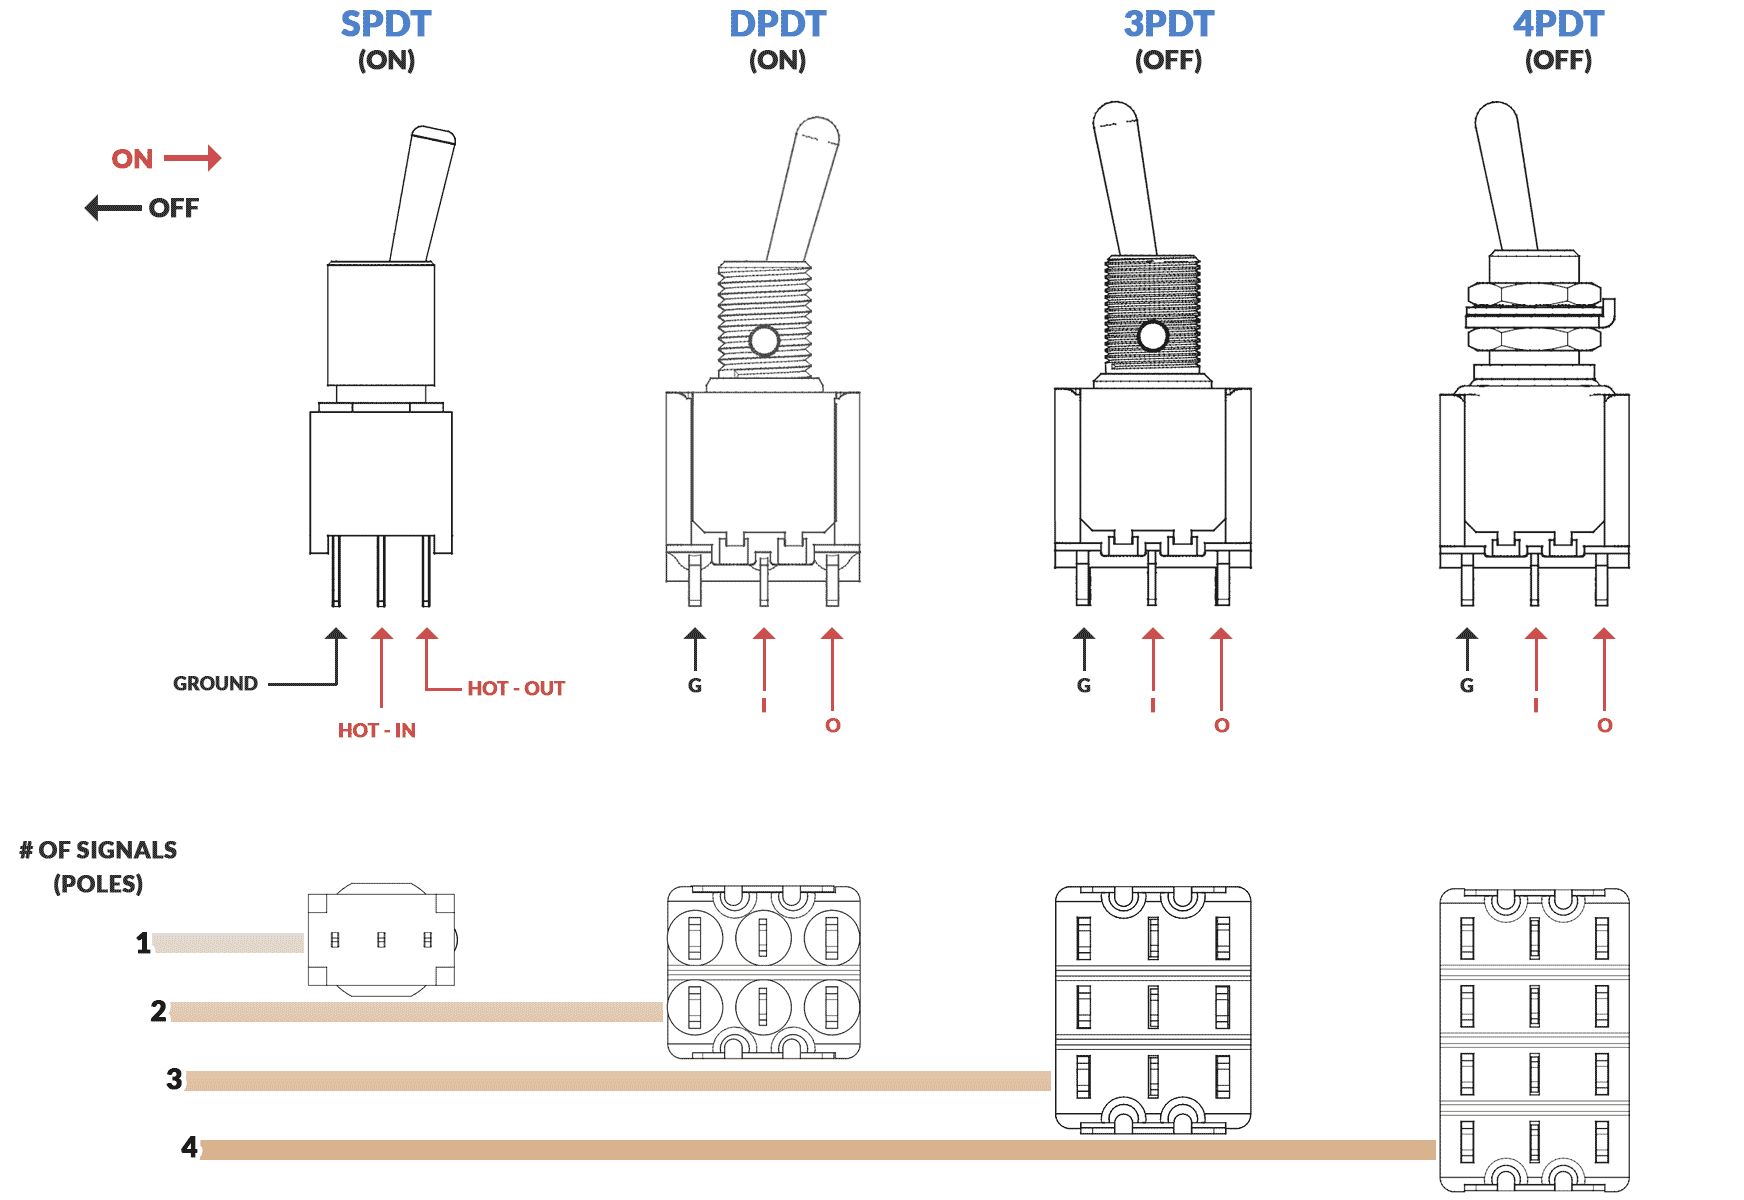
As a general rule, it’s best to place these switches directly after the pickup selector switch, or just before the guitar’s output jack.
If you want to install the button in a part of your guitar’s circuit where your pickup’s hot wires are still split (usually before the independent volume pots, and/or before the selector switch), then you can use a DPDT / 3PDT / 4PDT switch to accommodate the extra pickups and ensure the killswitch works with all of them.
3. SPDT/Push-Button Combination
This final option that uses both a switch and a button. This circuit allows you to use an NO (Normally Open) button, which is wired to one side of an SPDT switch, with the other side bypassing it completely.
When installed, the player has to flip the switch to make the signal go through to the killswitch button – but in this case, it’s an open circuit so there’s no sound getting through until the button is pressed.
This allows a different mode of control that will probably feel more familiar to the player at first since they’re able to let the sound through directly on the beat with ease. It’s not better or worse than a regular kill-switch / button, just another option.


Test Your Circuits Before Making Them Permanent
If you’re wary about drilling into your guitar’s wood to install a switch that you may or may not enjoy having, then I highly suggest getting yourself a cheap Squire or Fender Stratocaster style guitar. They’re great for testing modifications since you can drill through those big plastic pickguards as much as you like without any permanent damage.
If the modification functions and you enjoy it, then you can feel better about drilling into your favorite guitar’s wood.
Another good option is to get a guitar kit and use it to familiarize yourself with and modify the circuit.
RE: Tom Morello’s Killswitch
One thing that I see repeatedly around the web is that Tom Morello uses a killswitch. He doesn’t have a traditional killswitch installed on his guitar, but he uses an improvised method (as with most of his effects) to get the same sound.
You can see him explaining the technique in this video here that he has a flip switch between his bridge and neck pickups with independent volume pots. He turns one all the way down and the other all the way up, then flips between the two to get a staccato effect.

That’s all for now!
Check out the capacitor guide if you’re looking for more ways to modify your guitar. If you have any more information regarding killswitches, feel free to leave a comment and let us know!