
Templates are a great way to build, not only for emulating your favorite models, but also for basing your own designs. It’s much easier to work with the proper proportions and scale. The luthier community at large has been creating and sharing templates based on numerous popular models for a long time, but if you don’t know how to get it from PDF to MDF, there’s not much purpose. And that’s a shame since it’s so easy.
Tools for making your own guitar templates:


Others
– 10mm MDF board
– Scissors
– Sandpaper (400 – 800 grit)
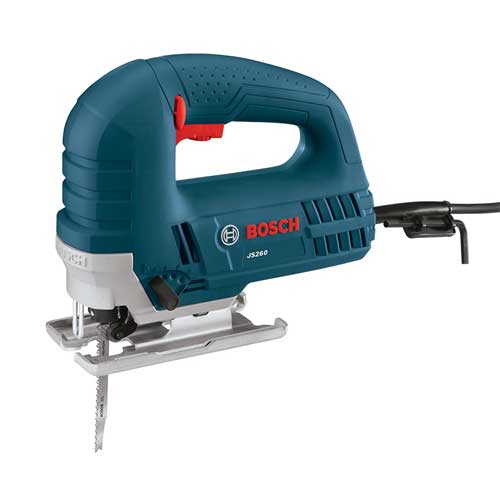
– Bandsaw (in place of jigsaw)
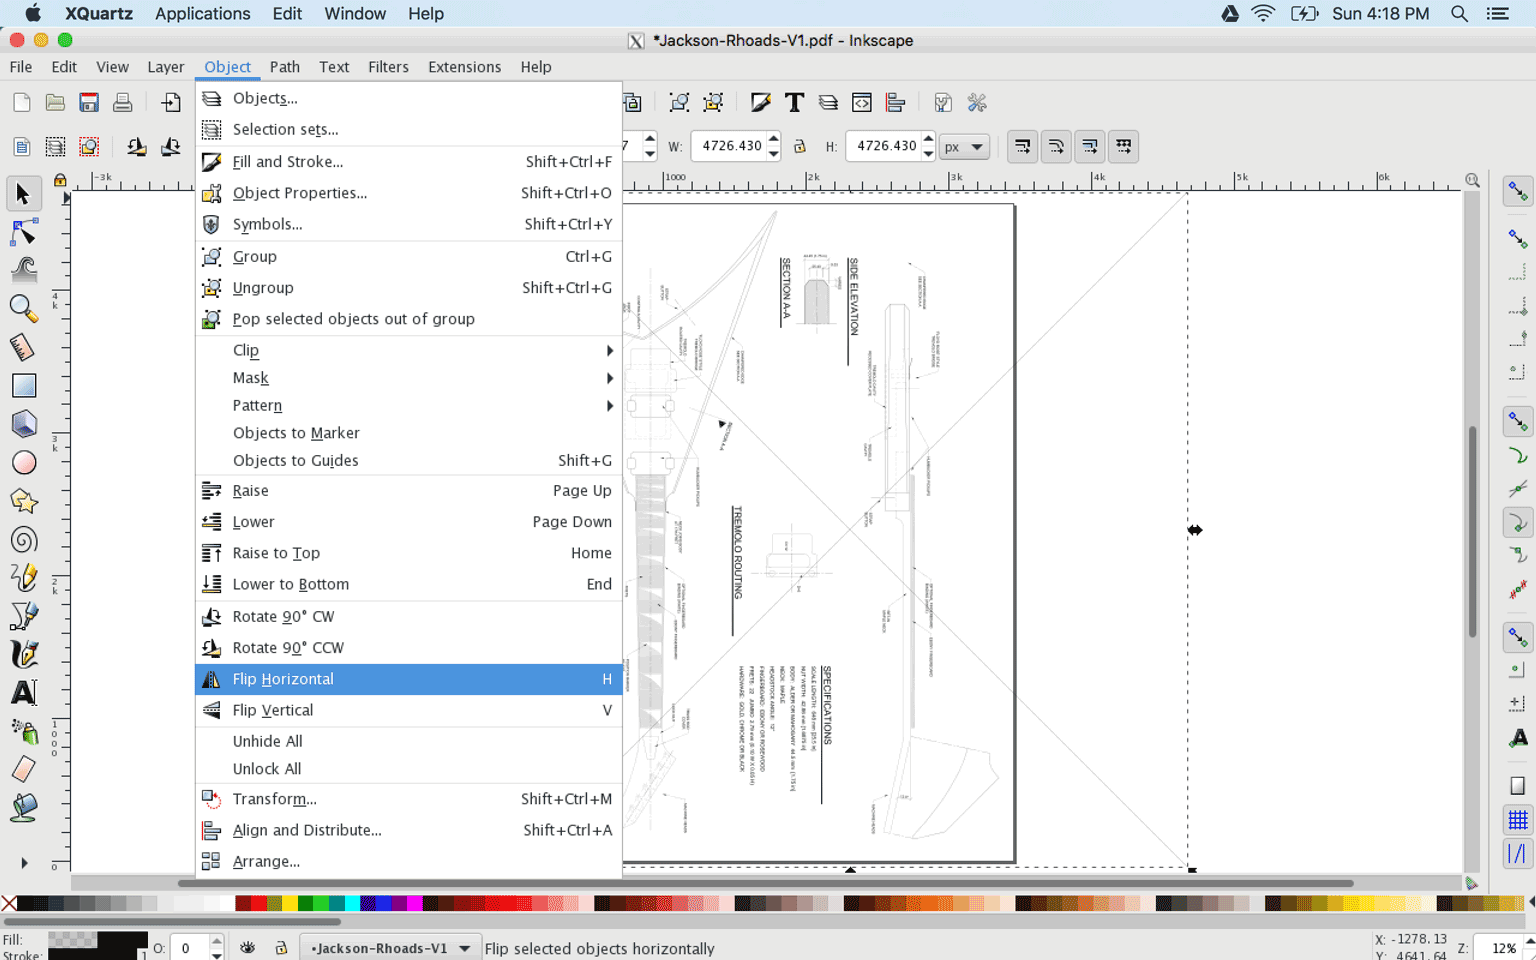
Using Inkscape to Print from a PDF
If you were to go to a professional printing place and gave them a thumb drive with your guitar template PDF, they’d be able to print it for you on one sheet of paper for a fair price.
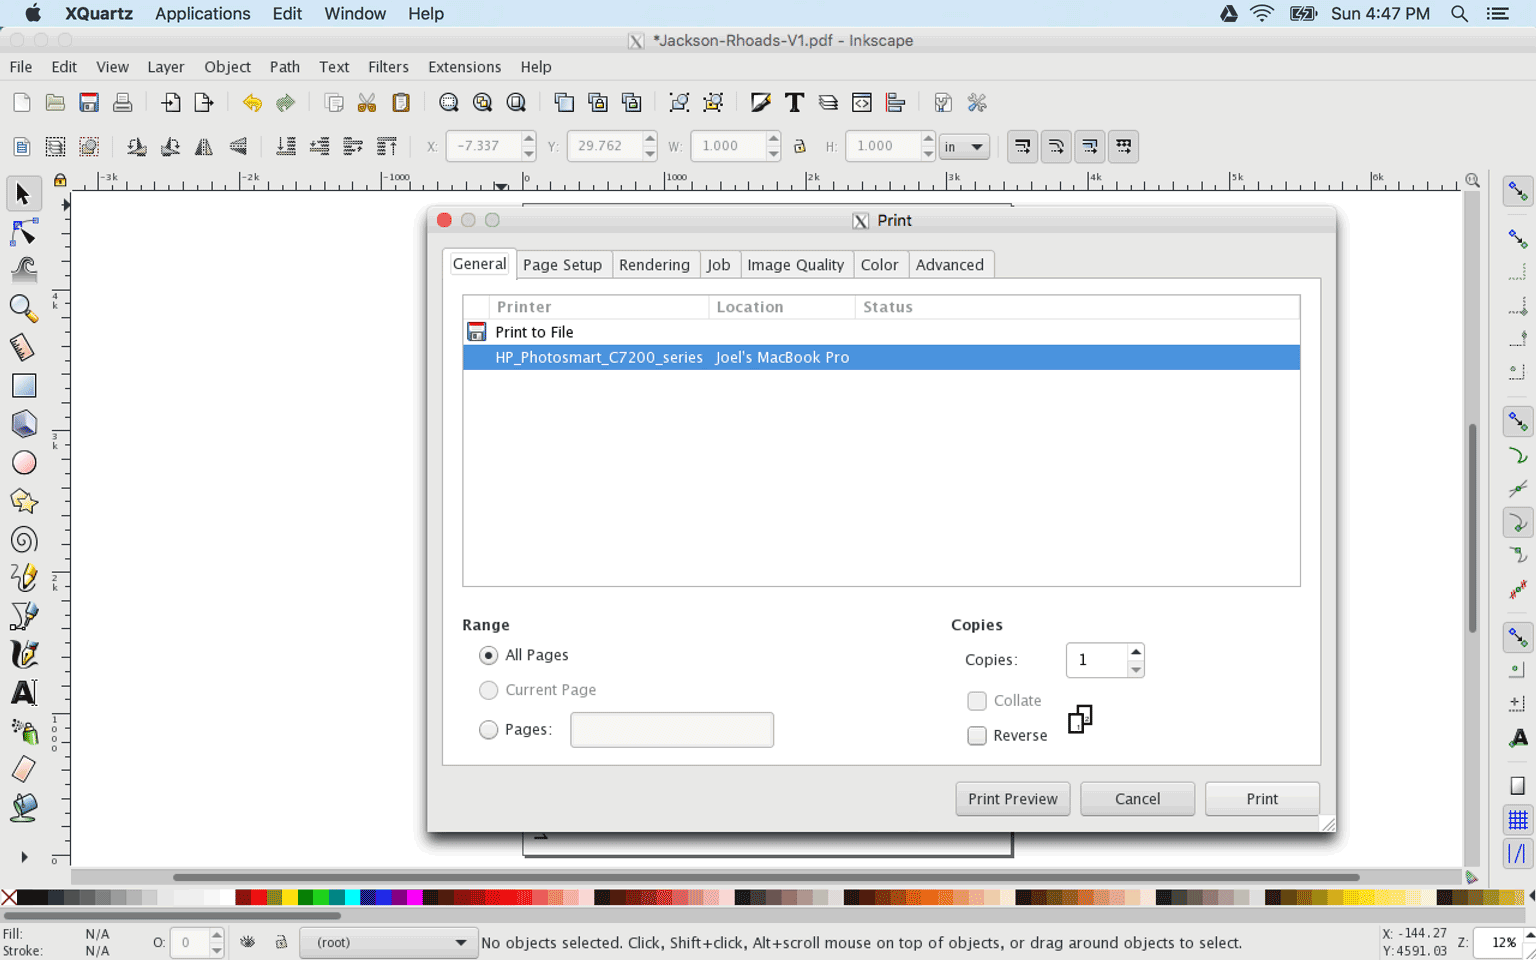
If that’s not an option for you, then the next best thing is to print out a bunch smaller images on standard A4 paper and put them together again afterward. You can do this with any old desktop printer.
But we need to ensure that your image will be printed full-scale and easily put back together again – that’s where Inkscape comes in. It’s a free program that’s compatible with Windows / Linux / OSX.
OSX users may need to download xQuartz first. Make sure to restart your computer after installation before opening Inkscape.
Here’s the steps to go from PDF to Paper:
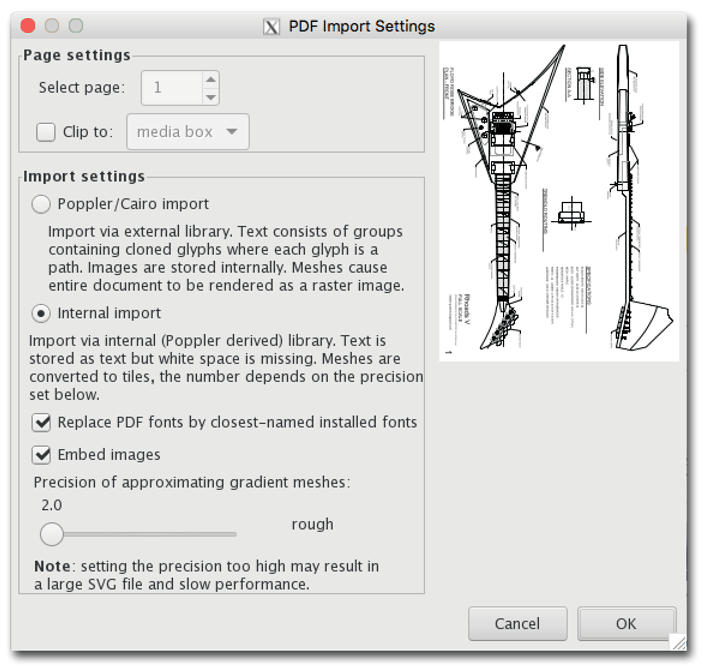


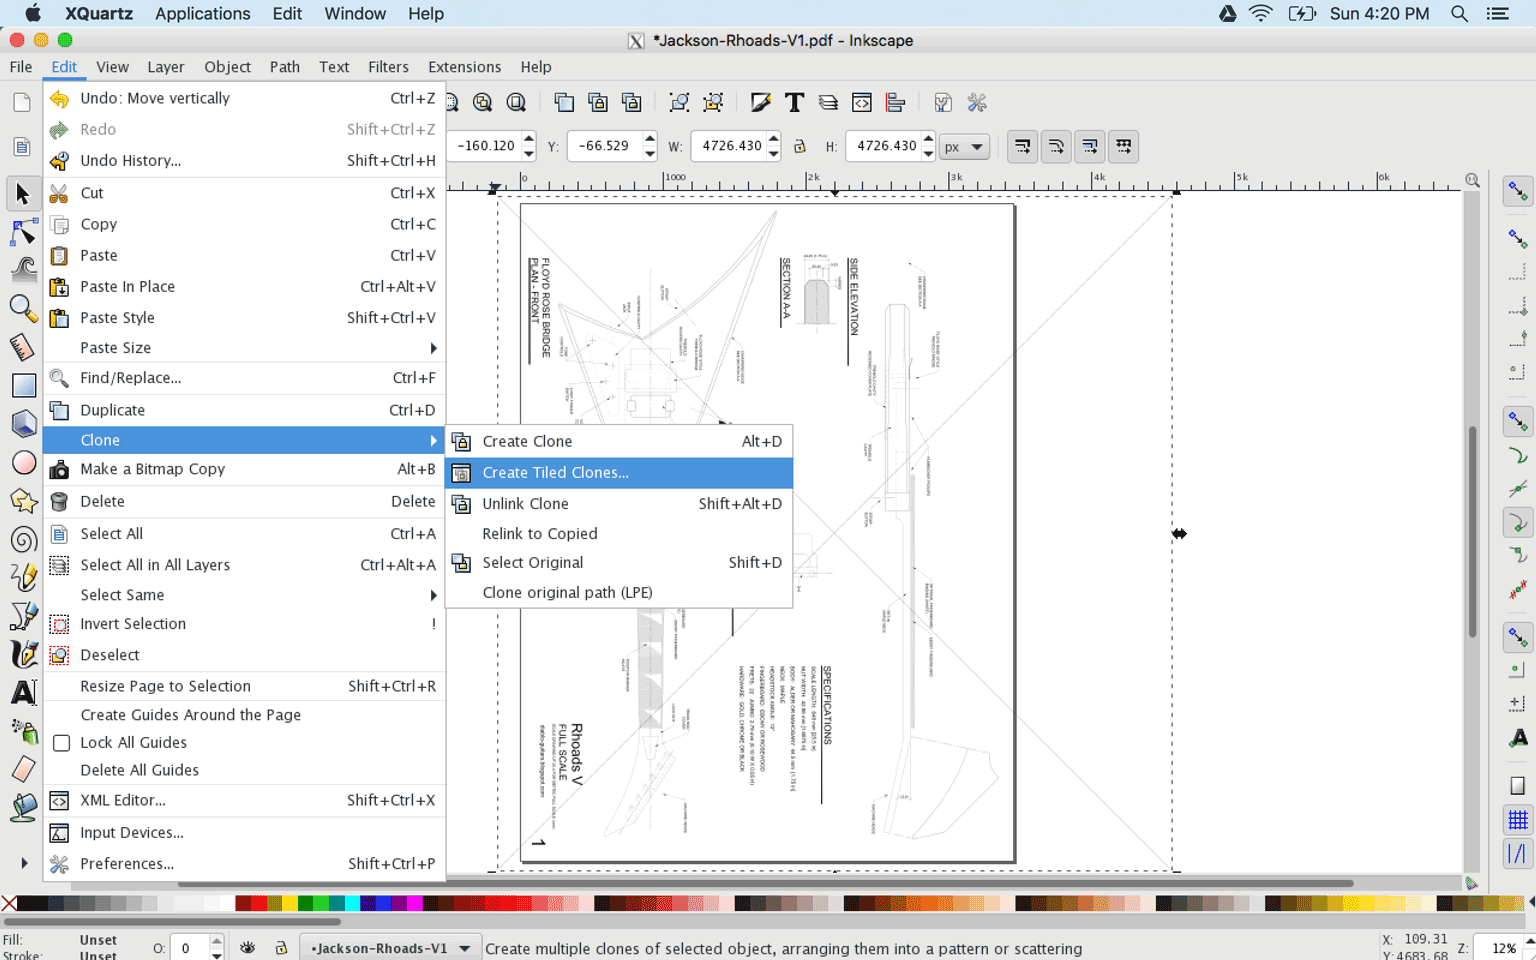
- Shift X: 5% per row, 0% per column
- Shift Y: -100% per row, -100% per column
- Rows, columns: 100 x 1
- Press Create


After that, it’s just a matter of putting the pieces together. You can cut away any excess paper and use regular tape to fix everything together. It may be helpful to use a light underneath the pages to line your grid up perfectly.
If you’re having issues with margins on the paper, make sure you double check that your paper size matches the settings on Inkscape.
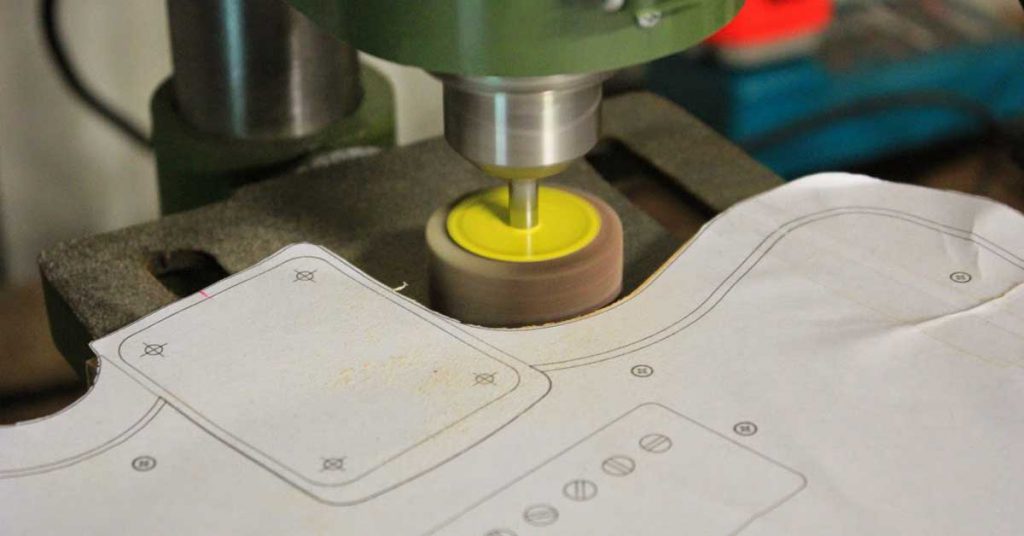
Once you’ve got everything together, it’s pretty self-explanatory – cut around the edges, glue it to your MDF board, and cut it out with a band saw (recommended) or jigsaw. You can clean up the edges with a belt sander to get things perfect.